
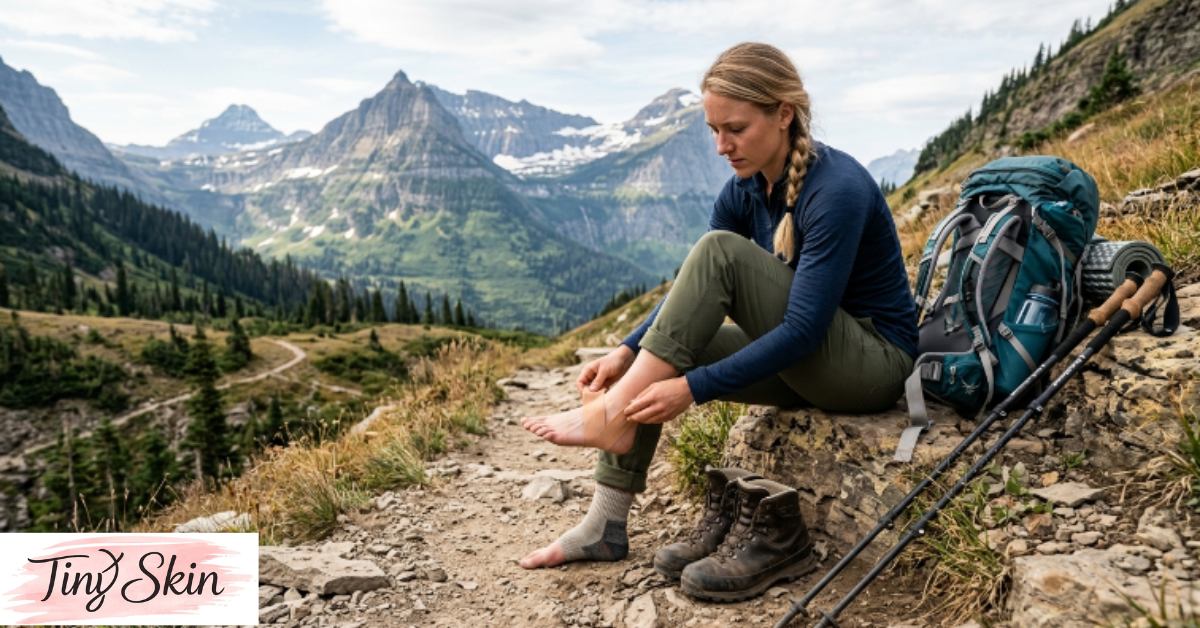

Nothing ruins a good hike faster than a hot spot turning into a full-blown blister three miles from the trailhead. If you’ve ever had to limp back to your car, socks soaked in blood or worse, you already know how miserable it is. Blister prevention hiking isn’t complicated once you understand what’s actually happening to your skin — but most people never get the full picture, so they keep making the same mistakes trip after trip.
I’ve spent the last decade working with clients on skin health, and foot care is one of those areas people underestimate until it wrecks a trip they’ve been planning for months. The good news? Blister prevention hiking comes down to a handful of habits you can start using on your very next hike. In this guide, I’ll walk you through why blisters form, how to stop them before they start, what gear actually helps, and what to do if one sneaks up on you anyway.
Let’s get into it.
What Causes Blisters When Hiking
Before we talk prevention, it helps to understand the mechanics. A blister is your skin’s defense mechanism. When there’s repeated friction against a specific spot — say, your heel rubbing against the back of your boot — the outer layer of skin separates from the layer beneath it. Fluid rushes in to cushion the area, and boom, you’ve got a blister.
Three factors combine to create this friction: heat, moisture, and pressure. Remove any one of them, and you dramatically reduce your risk. This is really the whole foundation of blister prevention hiking — it’s not about luck, it’s about controlling those three variables.
Friction Isn’t the Only Culprit
Here’s the thing — friction gets all the blame, but moisture is often the real troublemaker. Sweaty feet swell slightly and become softer, which makes the skin more vulnerable to tearing under pressure. That’s why hikers who think they’re doing everything right (good boots, broken in properly) still end up with blisters on humid days or during long, sweaty climbs.
Ill-fitting footwear, new or unbroken-in boots, wrinkled socks, and even the wrong hiking pace can all contribute. If you’re speeding downhill, for example, your foot slides forward inside the shoe with every step. That constant sliding motion is a blister factory.
Common Symptoms and Warning Signs to Catch Early
Blisters rarely show up out of nowhere. There’s almost always a warning sign — what hikers call a “hot spot.” This is a patch of skin that feels warm, slightly irritated, or tender, often before any visible redness appears.
Sound familiar? Most experienced hikers will tell you they’ve learned to recognize that specific tingling or burning sensation almost instantly. The problem is beginners often ignore it, thinking it’ll pass. It usually doesn’t.
Watch for:
- A localized warm or burning feeling on the foot
- Redness or slight discoloration
- A feeling of rubbing that wasn’t there at the start of the hike
- Tightness in a specific spot, especially around the heel, toes, or ball of the foot
If you catch a hot spot early, you can usually stop it from ever becoming a blister. That’s the single most important skill in blister prevention hiking — paying attention to your feet before they start screaming at you.
The Foundation: Choosing the Right Footwear
This is where most blister problems actually begin, long before you hit the trail. Your boots or trail shoes need to fit properly, and “properly” means more specific than just your regular shoe size.
Getting the Right Fit
Go shoe shopping later in the day, when your feet are naturally a bit swollen — this mimics how they’ll feel a few hours into a hike. Leave about a thumb’s width of space between your longest toe and the front of the shoe. Your heel should feel snug, not loose, since heel slippage is one of the leading causes of blisters on downhill sections.
This is a mistake a lot of people make: buying boots online without trying them on, or buying based on a size they wore five years ago. Feet change over time, and even the same brand can fit differently across models.
Breaking In New Boots
Never, ever wear brand-new boots on a long hike for the first time. I know it’s tempting when you’re excited about new gear, but stiff, unbroken leather or synthetic material will rub in ways that soft, worn-in material won’t. Wear new boots around the house, then on short walks, then on progressively longer hikes before committing to a big trip.
Sock Strategy: An Underrated Part of Blister Prevention Hiking
If footwear is the foundation, socks are the framework. Cotton socks are genuinely one of the worst choices for hiking — they hold moisture against your skin and lose their shape when wet, which increases friction dramatically.
Instead, look for:
- Merino wool or synthetic blends that wick moisture away from the skin
- Socks with reinforced heel and toe areas
- A snug, wrinkle-free fit (wrinkles inside a sock are a hidden blister trigger many people never think about)
The Double-Sock Trick
Some hikers swear by wearing a thin liner sock underneath a thicker hiking sock. The idea is that friction happens between the two sock layers instead of between your sock and your skin. It sounds simple, but it genuinely works for people prone to blisters, especially on longer treks.
Foot Care Habits That Actually Make a Difference
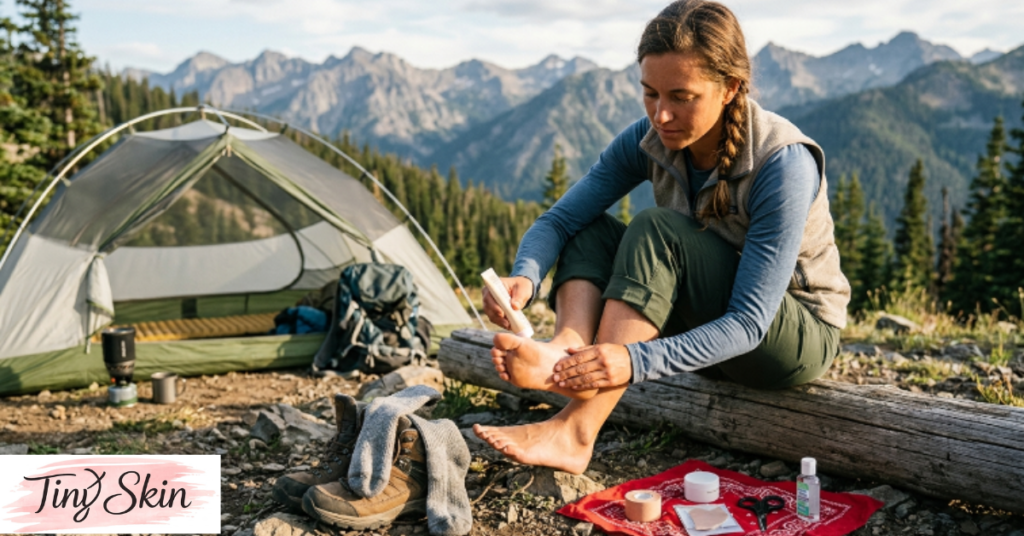
Skincare doesn’t stop at your face — your feet deserve the same level of attention, especially if you hike regularly. A little prep goes a long way.
Trim and Prep Your Toenails
Long toenails jam against the front of your boots on descents, which can cause blistering and bruising under the nail. Trim them a day or two before a hike, straight across, so there’s no sharp edge catching on your sock.
Moisturize (But Not Right Before a Hike)
Dry, cracked skin is more prone to injury, but overly soft, moist skin is more prone to blisters. The trick is moisturizing your feet regularly in your everyday routine, but keeping them dry on the morning of a hike. Applying lotion right before lacing up your boots can actually increase friction, which works against you.
Toughen Up Gradually
If you’re new to hiking, your skin genuinely isn’t conditioned to the repetitive pressure yet. Regular walking, especially in the shoes you plan to hike in, helps toughen the skin on your feet naturally over a few weeks. This is a slower but very real form of blister prevention hiking that a lot of guides skip over.
Products and Tools That Support Blister Prevention Hiking
There’s a whole category of gear designed specifically to reduce friction, and it’s worth understanding what actually works versus what’s just marketing.
Blister Prevention Tape and Moleskin
Applying tape (like kinesiology tape or specific blister-prevention tape) to known trouble spots before you even start hiking is one of the most effective strategies out there. If you know your left heel always blisters, tape it preemptively rather than waiting for a hot spot to appear.
Anti-Friction Balms and Powders
Products like anti-chafe balms create a slick barrier that reduces friction between skin and sock. Foot powders, on the other hand, help absorb excess moisture, which is particularly useful for hikers with naturally sweaty feet. Some people combine both — powder in the morning, balm on known hot spots.
Blister Prevention Patches
These are thin, cushioned adhesive patches designed to sit directly over pressure points. Unlike moleskin, many are made from hydrocolloid material, which also helps if a blister has already started forming, since it cushions the area while allowing it to heal.
Insoles and Orthotics
Sometimes the issue isn’t your sock or your boot — it’s how your foot moves inside the shoe. Custom or off-the-shelf insoles can correct minor gait issues or arch problems that create uneven pressure and, eventually, blisters. If you’ve tried everything else and blisters keep showing up in the same spot, this is worth exploring.
Dos and Don’ts on the Trail
Here’s a quick, practical rundown for while you’re actually out there.
Do:
- Stop and address hot spots the moment you feel them
- Carry a small blister kit (tape, moleskin, antiseptic wipes, small scissors)
- Change socks if they get soaked from rain or river crossings
- Re-lace your boots if you notice heel slippage
- Take breaks to air out your feet on longer hikes
Don’t:
- Push through the pain hoping it’ll go away
- Wear socks with holes or worn-thin areas
- Ignore wrinkled or bunched-up socks
- Assume broken-in boots will never cause a blister — even trusted boots can act up in new conditions like heavy rain or extreme heat
Common Mistakes Hikers Make (Even Experienced Ones)
In reality, even seasoned hikers slip up on this stuff sometimes. A few patterns show up again and again:
Overpacking new gear for a big trip and testing it out for the first time on the actual hike. First things first — always test gear beforehand, no exceptions.
Ignoring the early warning signs because stopping feels like it’ll slow the group down. A five-minute pause to tape a hot spot is nothing compared to hours of pain later.
Choosing boots based on looks or brand loyalty rather than actual fit. A beautiful boot that doesn’t fit your foot shape will blister you every time, regardless of price tag.
Not accounting for weather. Rain-soaked socks or extreme heat both dramatically increase blister risk, and a lot of hikers don’t adjust their sock or gear choices accordingly.
What to Do If a Blister Forms Anyway
Even with the best blister prevention hiking strategy, sometimes one slips through — especially on multi-day treks. Here’s how to handle it without making things worse.
If the blister is small and unbroken, leave it intact. The skin covering it is actually protecting the wound underneath from infection. Cover it with a cushioned patch or moleskin with a hole cut out around it to relieve pressure.
If it’s large, painful, or likely to burst on its own, it may need to be drained. Sterilize a needle with alcohol, puncture the edge, gently press out the fluid, and leave the top skin layer in place as a natural bandage. Apply antiseptic ointment and cover it.
Keep an eye on it over the following days. Increasing redness, warmth, swelling, or pus are signs of infection, and that’s when it’s time to consult a dermatologist or your regular doctor rather than trying to manage it yourself.
Long-Distance and Multi-Day Hike Considerations
If you’re tackling a multi-day trek, blister prevention hiking becomes even more of a priority since there’s no going home to recover overnight. Pack extra socks and rotate them daily, letting damp pairs dry out fully in the sun or attached to your pack. Reapply preventive tape each morning rather than assuming yesterday’s application will hold. And genuinely listen to your body — a hot spot on day one can become a serious problem by day three if you don’t address it immediately.
FAQs
What is the best way to prevent blisters when hiking?
The most effective approach combines properly fitted, broken-in footwear, moisture-wicking socks, and applying preventive tape or balm to known trouble spots before you start. Catching and treating hot spots early is just as important as any product you use.
Should I wear two pairs of socks to prevent blisters?
Wearing a thin liner sock under a thicker hiking sock works well for many people because friction happens between the two sock layers instead of directly against your skin. It’s not necessary for everyone, but it’s worth trying if you’re prone to blisters.
Is it better to pop a blister or leave it alone while hiking?
If the blister is small, it’s generally better to leave it intact, since the skin protects against infection. Larger, painful blisters may need to be carefully drained using a sterilized needle, but the top layer of skin should stay in place afterward as a natural bandage.
Why do my feet blister even with good hiking boots?
Even well-fitted boots can cause blisters if socks are damp, wrinkled, or made of cotton, if toenails are too long, or if conditions like heat and rain increase moisture and friction. Blister prevention hiking requires attention to socks and foot care, not just footwear.
Does moleskin actually work for blister prevention?
Yes, moleskin is a long-trusted option for reducing friction over pressure points. Many hikers now prefer hydrocolloid blister patches, which offer similar friction protection while also supporting healing if skin has already broken.
How long does it take to break in hiking boots properly?
Most boots need at least a few short walks and one or two longer hikes before they’re ready for a big trip. This can range from a week to a few weeks depending on the material and how often you wear them.
Final Thoughts
Blister prevention hiking really comes down to preparation and paying attention to your body along the way. Get your footwear and socks right, take care of your feet before you even lace up, pack a small blister kit, and stop the moment you feel a hot spot forming rather than pushing through it. None of this requires expensive gear or complicated routines — just consistent habits applied trip after trip.
Your next hike doesn’t have to end with sore, blistered feet. Start with one or two changes from this guide — maybe it’s finally swapping out those cotton socks, or taping your usual trouble spot before you head out — and build from there. Your feet will thank you, and so will your hiking buddies who won’t have to wait for you to limp to the trailhead.
If blisters keep showing up in the same spot no matter what you try, it’s worth having a conversation with a podiatrist or dermatologist, since recurring issues can sometimes point to something worth addressing beyond gear and technique.

